Friday, April 30, 2010

Country Breakfast: Tofu and Veggie Scramble with Home Fries

From An Opera Singer in the Kitchen

I am enjoying spring so much! Even though I hear that it is still snowing in some parts of the US, I am glad that we have cool weather AND sunshine. Don'get me wrong. There are some days that are cloudy and gloomy, but the flowers and the trees are all in full bloom. Maybe a little too much in full bloom.


I am hearing that spring came earlier than last year. DO you know what that means? The tulips start blooming earlier and perhaps will not be in the best viewing mode for the Festival next week, although I have been informed that a wide variety of tulips have been planted that seem to bloom later despite weather changes, so I am looking forward driving my sister and grandmother around in order to show them the 6 MILES of tulip lanes. Oh yes.


I have a little spring in the my own backyard too! Actually, just two flowers, but it still makes me happy.

From An Opera Singer in the Kitchen
Does it not look like a weed?? Poor tulips, but they were enjoying the sun as I had been that afternoon.


Now to delicious sunny food. You know that I have been counting calories and watching what I have been actually eating. I have been experimenting with foods for breakfast that have the same amount of calories. I have been consistently drinking Green Monster Smoothies and oatmeal, but on occasion I feel like eating some sort of comfort food.


You know what I am talking about. There is always that favorite greasy spoon of a place that entices you with their smothered bisquits and gravy, hashbrowns, bacon, and other heart-clogging foods. You actually can have that in the privacy of your own home without all the grease!


Before going vegan, I consumed a lot of eggs, so this was probably the hardest thing not to crave, next to cheese. It still is a little hard when I prepare hard-boiled eggs for egg salad for Ryan, but then I think of my goals and my reasons and I remember that I can have a tasty substitute: tofu.


I am glad to feature my recipe because I know that breakfast is one of the most important meals that fuels and determines how I will be feeling the rest of the day. Yes, food affects moods, at least the wrong food choices. Tofu is so versatile as I learned through Isa Chandra's book with brunch and breakfast ideas. It is exciting to know that there are so many options, so I decided to make my own version of a tofu scramble with veggies with a side of home fries. Sometimes I alternate this meal with 2 pieces of Ezekiel toast. Both of these breakfast options equal to a close 400 calories for the whole meal.

From An Opera Singer in the Kitchen

Tofu and Veggie Scramble


serves 2


1 12-ounce box Mori-Nu tofu
1 Tbsp olive oil
1 cup sliced mushrooms
1 cup asparagus, chopped
1/2 cup onions, chopped
1 garlic clove, minced
1 1/2 tsp Italian seasonings
1 1/2 tsp tumeric
1/2 tsp garlic powder
1/2 tsp cayenne pepper
1/2 tsp crushed black pepper
2 Tbsp water


Press the tofu for 30 minutes prior to cooking. Chop all the veggies and leave ready to begin cooking process.


Using a non-stick skillet, heat olive oil on medium heat. Add pressed tofu and crumble in large pieces. The tofu will need to cook and dry out a little for 10 to 15 minutes, so meanwhile, add onions and garlic to tofu.


After those 15 minutes, add asparagus and mushroom and all the rest of the spices plus the water. Cook for 5 minutes and serve hot!

From An Opera Singer in the Kitchen

Home Fries


serves 2


3 red potatoes, diced 1/2 inch thick
2 tsp crushed black pepper
1 1/2 tsp salt
2 Tbsp olive oil


Prepare potatoes before starting on tofu scramble.


Preheat oven to 450F and move oven rack to the next to last highest row. Line a small cookie sheet with parchment paper.


Wash and scrub potatoes. Dice them and add to a medium bowl. Add olive oil, salt and pepper and mix well. Pour potatoes on cookie sheet and spread evenly. Bake for 20 minutes and serve while hot.

Thursday, April 29, 2010

Colorful Red Quinoa not so Tabbouleh Salad

From An Opera Singer in the Kitchen

Do you know how much you put in your mouth? It is incredible that calories add up, and if I did not have a consistent work out no wonder I was gaining weight. Since my husband and I have been counting calories we have been working out consistently.
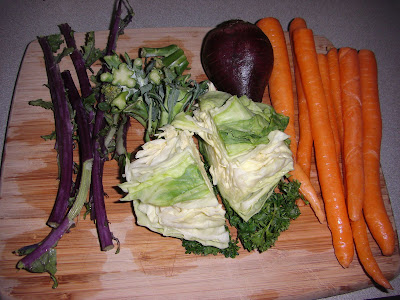
One of the things I have been enjoying is using my juicer. I have been experimenting with different vegetables and only juicing twice a week. This is what I had:

From An Opera Singer in the Kitchen
On the left are leftover stems from my red kale I used, along with some broccoli stems,ginger, parsley, cabbage and carrots and Oh, some beets as well. It was very delicious and very filling.

From An Opera Singer in the Kitchen

If you have never juiced before, try it! It is invigorating and gives you a slight punch of energy after drinking it. You can even save the pulp and make muffins with them! I have yet to try it but I will soon.


Another recipe I created this past week was a quinoa salad. I have eaten quinoa before as breakfast cereal or as a side with my veggies but not as a salad. Since I like tabbouleh so much, I decided to start with that idea in mind and go from there.


Did you know that quinoa is a complete protein? It is a complete protein because it has all the essential amino acids to make it so. So this is healthier than wheat or rice. The Incans called it the "mother of all grains, " so why not partake of something they knew was a healthy and needed?


Before you starting cooking, always rinse quinoa before cooking it because it has an outer layer that makes it bitter. Once you wash the quinoa, the flavor, once cooking it, becomes milder. Enjoy this recipe!

From An Opera Singer in the Kitchen

Colorful Red Quinoa not so Tabbouleh Salad


serves 4 small portions or 2 hearty portions


1 cup red quinoa
1 1/2 cups water
1 tsp salt
1/2 avocado, diced
1/2 tomato, diced
5 red radishes, diced
5 green onions, chopped
1/2 cup parsley, chopped
1/2 cup yellow pepper,diced
1/2 cup English cucumber, diced
1 tsp cayenne pepper
1 tsp tumeric
1/2 tsp cumin
3 1/2 Tbsp red wine vinegar
2 Tbsp extra virgin olive oil


Wash the 1 cup of quinoa in a colander for several seconds. Add quinoa, water and salt to a small pot and boil for 15 minutes. You will know it is cooked when it becomes soft and you see little white antennas pop from the grain.


Meanwhile, wash all your veggies well and chop and dice them accordingly.


Add all the veggies to a medium glass bowl and toss. In a small bowl mix the red wine vinegar, olive oil and all the spices and blend well. Add the vinagrette to the salad and enjoy.


Will keep for 1 day, but best eaten the same day.

Tuesday, April 27, 2010

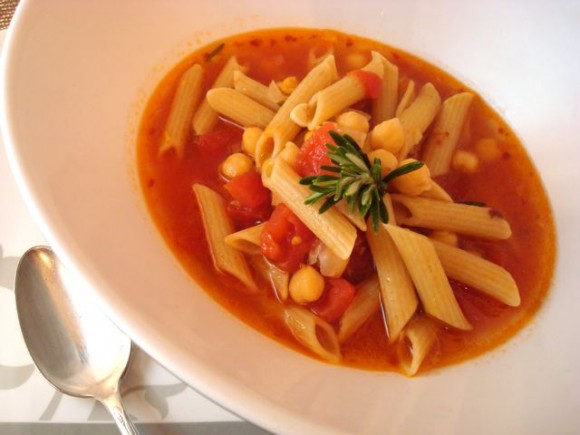
High Fiber Pasta e Ceci, Soup-Style


Back in December we made Frank's recipe for Pasta e Ceci from his wonderful blog inspired by the home cooking of his Italian grandmother called Memorie Di Angelina. I had all the ingredients on hand; canned chickpeas, olive oil, garlic, pasta, vegetable broth, canned diced tomato, fresh rosemary, red chile flakes. Then in February we were equally impressed with Linda's recipe for Zuppa di Ceci from her absolutely delightful blog about food and travel, Ciao Chow Linda.


I've enjoyed experimenting with the recipe for Italian chickpea soups. It's high fiber and heart healthy, made with ingredients from the pantry plus fresh rosemary and garlic. The combination of these simple flavors produces an amazingly complex-tasting result. In about 15 minutes!


High Fiber Pasta e Ceci, Soup-Style


In a soup pot, sauté chopped shallot and garlic with red chile flakes in a good amount of olive oil (don't be shy) for a minute or two.


Add some chopped fresh rosemary. It must be fresh. On one occasion I tried this soup with dried rosemary and was disappointed with the result.


When the garlic is barely light brown, add some chopped tomatoes and their juice. The tomatoes are an accent, as this is not a tomato soup, so do not add too much. Simmer. Then add vegetable stock. Bring to a boil.


Add drained, rinsed chickpeas and slightly undercooked whole wheat pasta. Lower the heat and cook through. Taste the soup, add salt if necessary.


Serve with a sprig of fresh rosemary and toasted ciabatta bread, rubbed with garlic and brushed with olive oil.


Lori Lynn
where the image is meant to titillate and inspire the cook

Sunday, April 25, 2010

Apple and Squash Bread


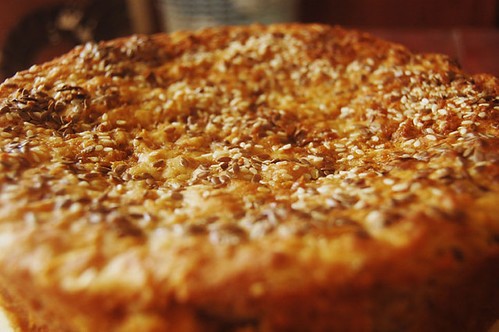
This is a recipe I made around a week ago and now I finally copied the photos to the pc, so here it is. The recipe might sound a bit strange, but the result is a very juicy bread with a delicious crust on top.

Ingredients:

2-3 cups of grated squash or pumpkin
1 grated apple
1 finely chopped red chili
1 tsp of chopped ginger
1 tsp of vinegar (I used balsamic vinegar, but I'm sure a cheaper one will do fine)
1 1/2 tsp of whole cumin
1 tbsp of "arab pepper", garam masala, gingerbread spice or any comparable spice mix.
2 tbsp of grated panela / jaggery (whole cane or palm sugar)
1 tsp salt
4 cups of flour
2-2 1/2 cups of milk
3 tsp of fresh yeast
Sesame and flax seeds and some more grated panela for the crust

Preparation:

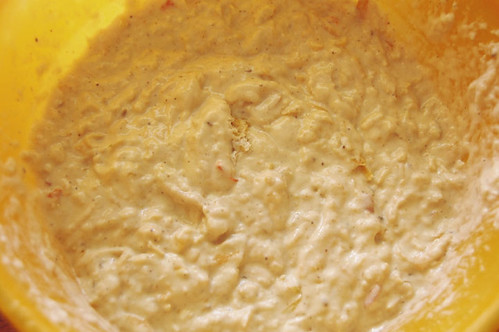
Mix the grated squash and apple with the vinegar, spices and panela and then loosely stir in the flour. Create a hollow space in the middle of the mixture and crumble yeast into it. Slowly pour milk over the yeast while stirring. When the yeast dissolved, start mixing everything together while adding more milk until the right consistency is reached. The dough shall not be in a kneading consistency, but less liquid than your average cake dough, I would say.


Cover the bowl with a kitchen cloth and leave it to rest in a warm, draft free zone of your house for an hour. (Note: where I live it’s hot all year, everyday, if you are located in a colder region you may consider a longer dough resting period, even though it isn’t strictly necessary.)When the hour passed the dough should have grown considerably, if that didn’t happen, probably your yeast was dead already. Preheat the oven to 180 degrees Celsius (Note: our oven does not have temperature markings, so this is just the temperature that I think it might have had + not all ovens are the same, for example ours is with gas and only gives heat from below, while the one of my mother back in Austria is electric and has diverse settings like hot air, heat from only below or above or both, etc. What I am trying to say is that you might have to experiment a bit, but go for a generally rather high temperature.) Grease a baking form or ovenproof pot (I used a heavy aluminum pot without plastic handles), and pour the dough into it. Sprinkle flax seeds, sesame and panela on top, cover the pot with the cloth and give it another 5-10 minutes. Uncover and bake for approximately 30 minutes or until it becomes nicely browned and crunchy on the outside, then remove from the pot, loosening the sides with a knife and flipping the pot over on a big plate.


Let it cool out at least a bit before cutting it into slices. Because of the squash and apple it is a very soft and juicy bread, if you like it more dry maybe reduce the amount of those ingredients. I ate it with butter and orange jam and later with cheese and salad and both tasted very good.

Saturday, April 24, 2010

Green Bananas and Saltfish

Green Fig and Saltfish


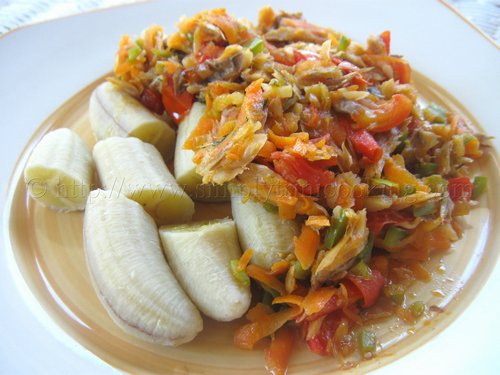
By now you may realise that like mackerel, saltfish is really a staple food in my trini diet. We eat saltfish in accras, buljol, fry bake and also dumpling. It is a wonderful addition to the trini menu since it is fast and easy to prepare.

As you would notice I use the word fig for banana interchangeably that's because the Trini creole for banana is fig, so don't get confused over it and the other fig fruit. You would also notice I've added the arbitrary units for quantifying bananas, i.e. hand and grain, to get you accustomed to the Trini and by extension Caribbean terminology.

The saltfish is a type of salted cod that we get from Canada I believe. It also goes by the Portuguese name of bacalhau or Spanish bacalao. Hope you enjoy this one: it's really simple and, above all, tasty. This is real trini homemade food!


GREEN BANANAS AND SALTFISH

1 hand of green fig (bananas)
1 1/2 lb saltfish
3 pimento peppers, chopped
1 small onion, chopped
2 cloves garlic, chopped
1 carrot, grated ( large side of grater)
3 med. tomatoes, chopped
1/2 large sweet pepper
1 pinch salt
1/2 tbsp. oil
1/2 cup water


A hand of fig (Banana)


A grain of fig. Mark the green fig (banana) with a knife as shown.


Place in a pot of water add 1/2 tbsp of oil ...


and a pinch of salt


Boil until the skin changes colour and the bananas are tender.


The peeled, green bananas.

Note: We usually leave the bananas in the water until we're ready to serve.
This keeps the bananas soft.


Boil the saltfish for about twenty minutes. Clean and break into smaller pieces.


Note: Even after boiling the saltfish, it may still be a little salty. To remedy this problem, place it in a bowl of water and squeeze the pieces of saltfish, handfuls at a time, and place in another bowl when finished. That should get the excess salt out. Don't over squeeze though; we need some salt to flavour the rest of ingredients.


In an iron pot, saute the onion and garlic over a medium flame until translucent.


Add the pimento peppers...


Sweet pepper...


Grated carrot...


and tomatoes. Cook for 2 minutes


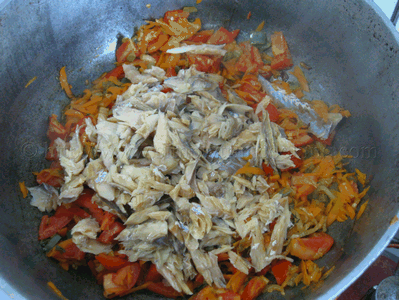
Add the saltfish and mix thoroughly.


Add about 1/2 cup water and let simmer for 1 minute.


The finished saltfish. Serve over the green fig (bananas).


More recipes to come.


Felix :-)

.

Tuesday, April 20, 2010

Saim & Okra

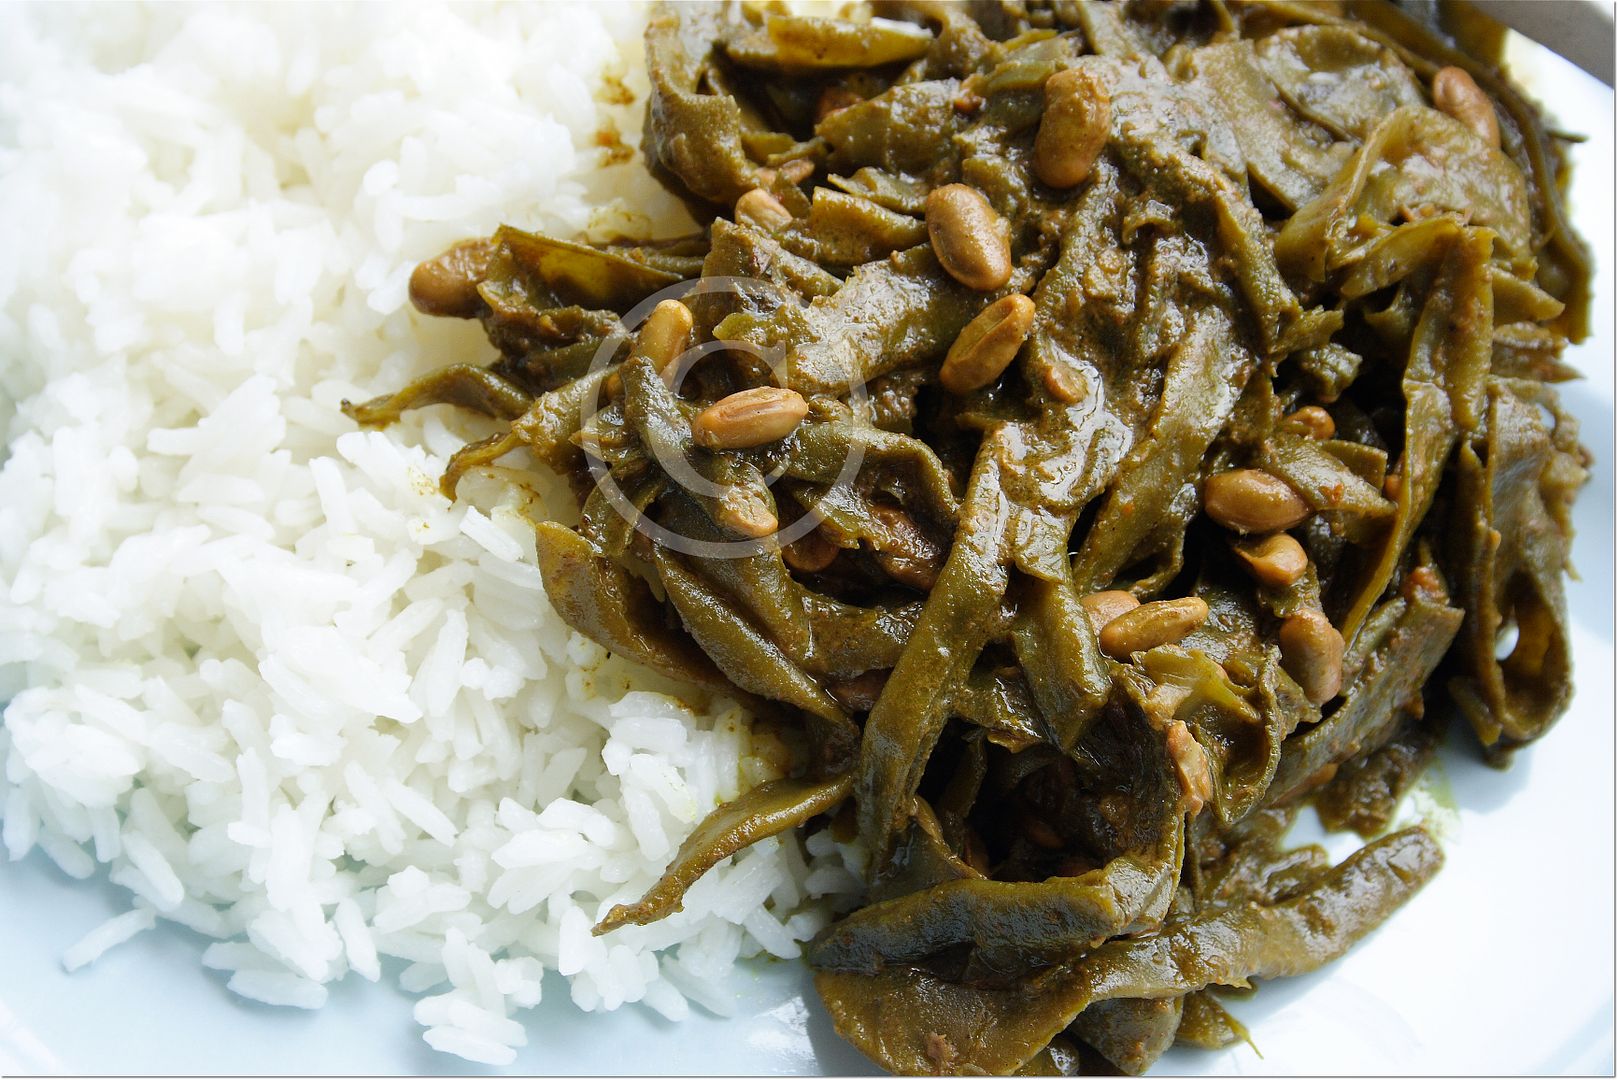
It is funny how we gravitate to certain things when we are away from home or thinking of loved ones. My mom loves saim, a type of string bean. For my part, I'd eat it but it is not one of those things that I'd buy regularly. However, whenever I see saim in the market here in Barbados, I almost always buy it, just because it reminds me of home and my mom. She'd always cook it curried with shrimp or beef as it is a bean that stands up to long cooking. I too curried mine but without any meat and cooked it with coconut milk. The coconut milk really enhanced the flavour and gave the bean some body. But then again, everything tastes better with coconut milk, doesn't it? :)


For the curry:

1 tablespoon vegetable or canola oil
2 tablespoons curry paste (recipe follows)
Salt to taste
1 lb saim with tips and seams removed; pulled apart
3 cups fresh coconut milk (dilute if using canned coconut milk)


For curry paste:-
  • Grind together 2 large cloves of garlic, 2 tablespoons chopped onion, hot pepper to taste and 2 - 3 tablespoons chopped cilantro to make a paste.
  • Add 1 heaped tablespoon ground garam masala and 1 heaped teaspoon ground turmeric along with a few drops of water to the herb paste and mix together to form a paste (if you have more paste than you need, reserve the excess in an air-tight container for later use).

DIRECTIONS

  1. Add oil to pan and heat until hot but not smoking; add curry paste and saute for 1 - 2 minutes. Reduce heat to low because you don't want to burn the spices
  2. Season with salt to taste for the entire dish
  3. Add saim and toss to coat with sauteed curry paste. Let continue to cook for 3 - 4 minutes, tossing intermittently
  4. Turn up heat to high, pour in coconut milk and scrape the bottom of the pan with spoon to release any bits that may have been stuck. Cover pot and bring to a boil. Reduce heat to medium and let cook until all the liquid has dried out
  5. Serve with rice or roti

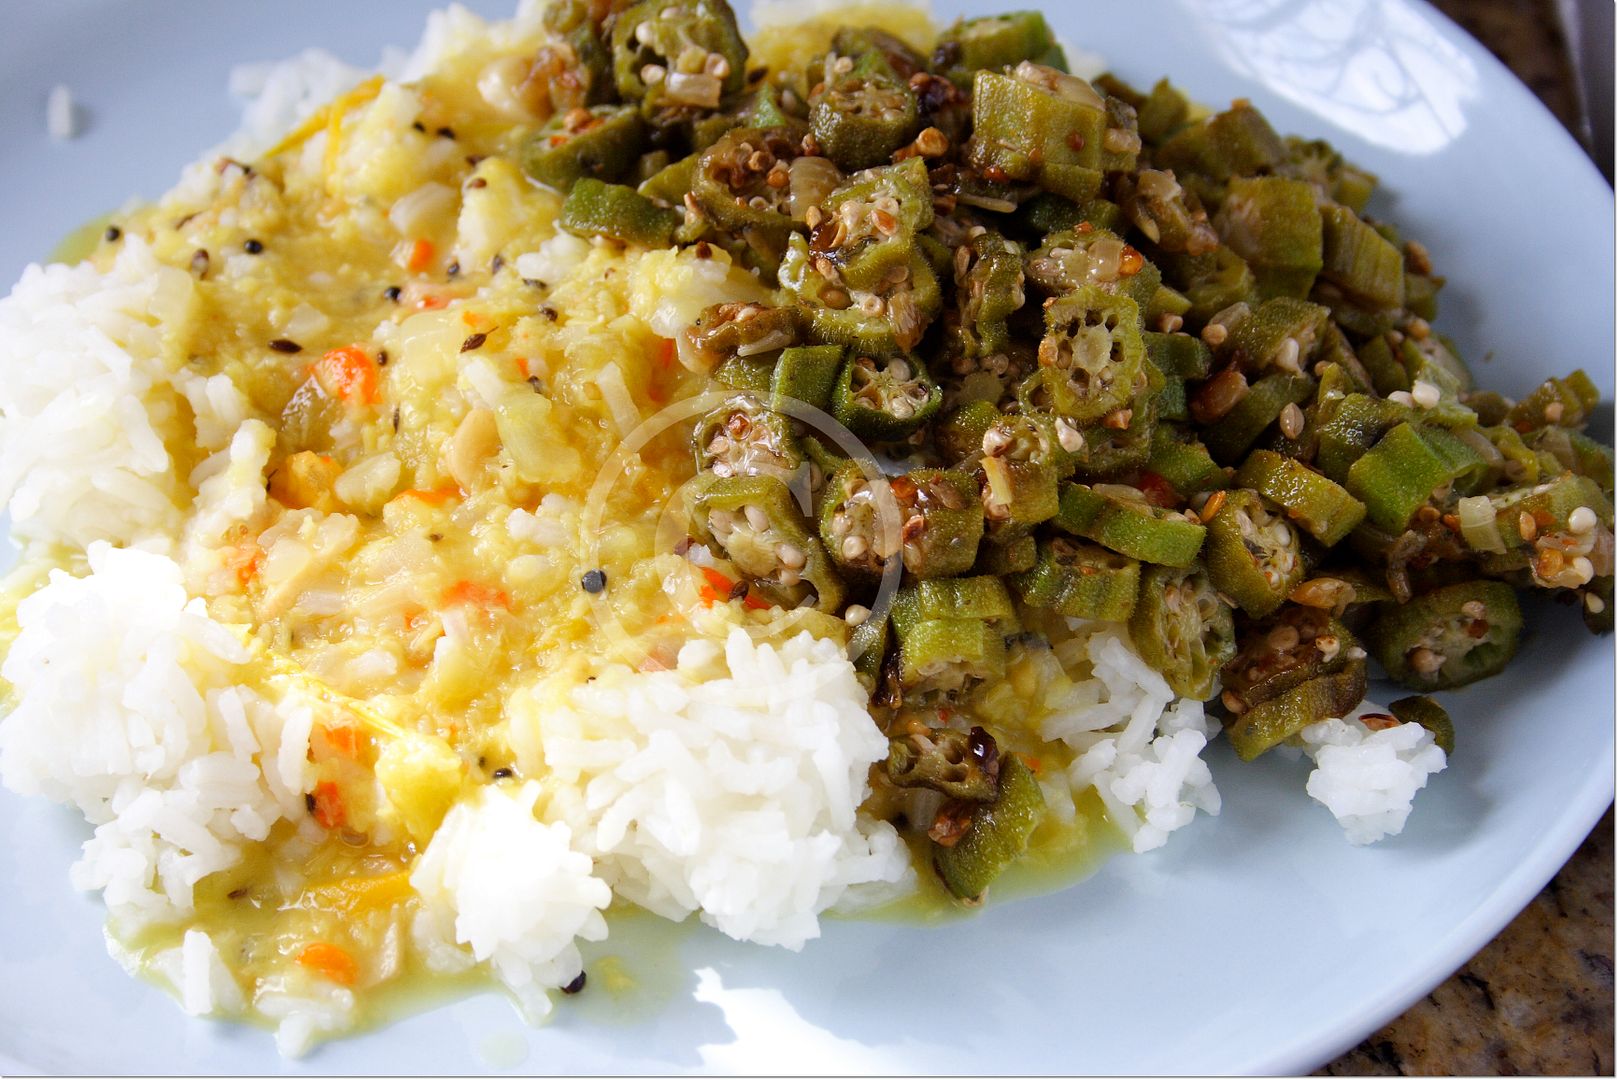
Now this second meal is one which I cook at least once a week. I love, love, love okras and cook it weekly. Sometimes, I'd just steam it and have it with my meal.


There are many dal recipes out there so I am not going to post another one here. What I will say is that I sauteed a large onion and three green tomatoes before adding the dal and cooking it all together. The green tomatoes gave a dal a delightfultang and I added a bit of palm sugar to balance it. To temper the dal, I used mustard seeds, whole cumin and sliced garlic.

For the Sauteed Okra:

2 tablespoons oil
1/2 cup diced onions
2 cloves garlic crushed
2 teaspoons minced fresh thyme
1 lb okra, cut into 1/4-inch rounds
Salt and pepper to taste

DIRECTIONS

  1. Heat oil in pan until hot (until shimmering)
  2. Add onions and saute until until translucent
  3. Add thyme and garlic and saute for 1 minute
  4. Add okra, toss to coat, reduce heat to medium and let cook for 8 - 10 minutes tossing a couple of times
  5. Season with salt and pepper to taste and remove from heat
  6. Serve with rice, roti, bread etc.

Sunday, April 18, 2010

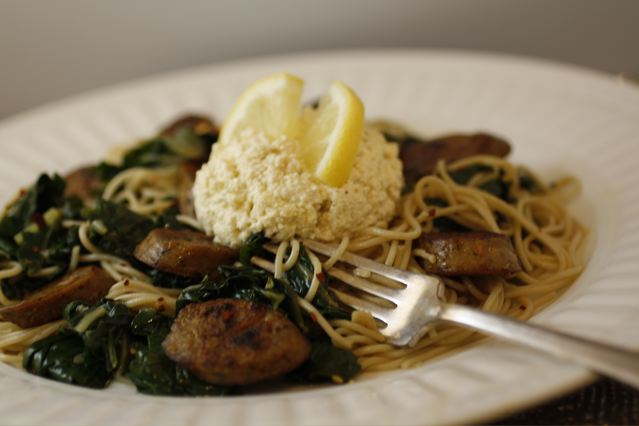
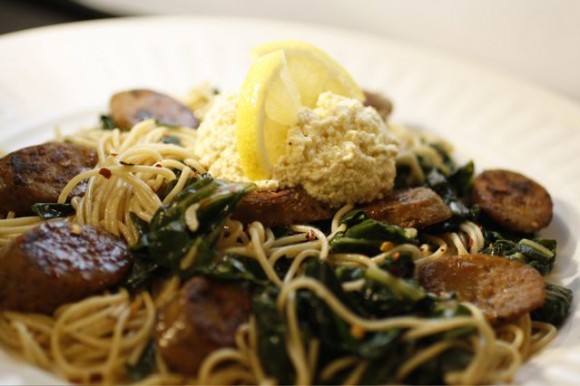
Heart Healthy Spaghettini


Whole Wheat Spaghettini
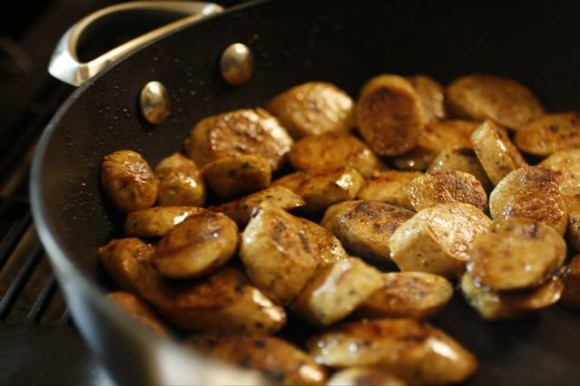
Vegetable Protein Italian Style Sausages
Spicy & Garlicky Green Chard
Lemony Tofu Ricotta


Creating Heart Healthy dishes is a fun adventure for me. I feel like I have discovered a whole new cuisine! In this dish I use whole wheat pasta for the extra fiber, a green leafy vegetable, vegetable protein to replace pork sausage, and tofu to replace ricotta cheese. Eating vegetable-based meals several times a week helps me to control my cholesterol. And these meals are so satisfying, I don't miss the meat or cheese.


Slice Smart Sausage on an angle. Brown in a non-stick skillet with a bit of canola oil. Meanwhile, cook whole wheat pasta in salted boiling water.


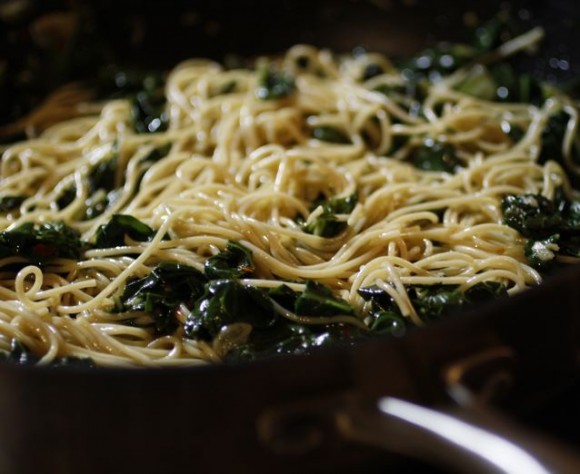
Heat olive oil in a pan, add a generous amount of minced garlic and red chile flakes. After about a minute add cleaned roughly chopped green chard. Sauté, covered, over medium heat for about 10 minutes, stirring occasionally. Add sea salt to taste.


Lemony Tofu Ricotta


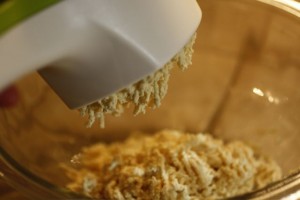
Press one block of firm tofu though a potato ricer.


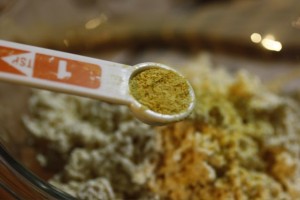
Mix the following ingredients with the tofu:

  • 2 t. nutritional yeast flakes

  • 1 T. fresh squeezed lemon juice

  • 1 t. lemon zest

  • 1 T. olive oil

  • salt and pepper to taste


Nutritional yeast flakes have a nutty-cheesy flavor, some think it tastes similar to Parmesan cheese.


We are so lucky to have fresh lemons!


When the chard is cooked, add spaghettini to the pan and toss together.


Plate the pasta chard mixture, top with Smart Sausage slices and a scoop of Lemony Tofu Ricotta for a super-satisfying heart healthy vegetable-based meal!


Lori Lynn


Taste With The Eyes


where the image is meant to titillate and inspire the cook

Friday, April 16, 2010

Salt Mackerel and Provision

.

I really enjoy this dish. All the ingredients, prepared fresh, is as healthy as you could get: from the fresh herbs like chadon beni that I just went outside in the backyard to pick, to the provision bought in the market. Salt mackerel is a bit of a delicacy here in Trinidad and Tobago where it is prepared best in the manner that I'm posting today. Aside from the labourious cleaning of the salt mackerel that had me on my feet for a long time, the rest of the steps are manageable. A wonderful pesco vegetarian recipe I might add. :-)


SALT MACKEREL AND PROVISION
2 lbs salt mackerel
3 medium dasheen
1 cassava
1 sweet potato
1 medium yam
6 medium tomatoes, chopped
4 pimento peppers, chopped
1 med sweet pepper, chopped
1 small onion, chopped
1 stalk celery, chopped
8 leaves chadon beni, chopped
3 tbsp olive oil
pepper to taste


Wash and peel the provision.


Boil the yam separately.


Boil the rest of the provision together.


Note: Boil provision with about 1 tbsp salt.


Salt Mackerel.


Soak the mackerel for 15 minutes then boil for 10 minutes.


Remove the bones and tender skin gently.

Note: Use a gentle scraping motion to get the skin off. I found that when I held the knife at a 45 degree angle away from me ( knife edge that is), to scrape the skin, it came off easily!


The salt mackerel, cleaned and ready to cook.


Heat the olive oil over a medium flame.


Saute the onion and garlic.


Then add the pimento and sweet pepper.


Add the tomato and allow to cook for 2 minutes.


Add the mackerel...


...chadon beni and celery


Mix thoroughly.


Add a little water and simmer for two minutes.
Here you can add some pepper if you want to.


The finished salt mackerel. Serve hot over the provision.


Did you enjoy this mackerel recipe? Well now that you know how to cook mackerel trinistyle why not share this recipe with your friends. I'm sure they will like it. :-)


Felix
Simply Trini Cooking


.

  © by Ourblogtemplates.com 2008 Modified by Cynthia Nelson

Back to TOP