Showing posts with label Indian. Show all posts

Monday, July 28, 2014

Masala Barnyard Millet Porridge

This space has been silent for too long and I thought of dropping in and post something here.A simple and healthy breakfast dish that is also quick to prepare is the one that is going to be featured here today...

I cannot dream of having sweet porridge for breakfast.No matter how much I love oats, I can never have have the sweet version. However I do love the masala oats porridge and the savory porridge with buttermilk.So naturally, I thought of making a savory porridge with some nice masala twist using millet. 


I used:

Barnyard millet- 1/4 cup
Mixed parboiled vegetables- as needed [ I used carrots, beans,cauliflower and potato]
Sambar powder- 11/2 teaspoon
Salt to taste

Boil 4 cups of water in a pan and when it stats boiling add sambar powder and salt.Put in the millet and cover and cook on medium flame till the millet is cooked.

Add the vegetables and mix well and cook for another 5 minutes on medium flame. Add more water if needed to get the porridge consistency.Remove from heat and serve with a side dish of your choice.


Note:
  • Usually 3 cups of water is sufficient to cook the millet. I added 4 cups to get a semi solid consistency.
  • You can use any masala of your choice instead of sambar powder like garam masala,pav bhaji masala ,curry powder ,etc.
  • You can serve this with pickle / roasted vegetables.


What a tasty spoonful!


Looking for more Millet based recipes?Check out  this link...

Bon Appetit ...


Catch me cooking @ Seduce Your Tastebuds

Friday, September 9, 2011

Shahi Paneer Kofta Masala

You might have noticed that I have been posting a lot of recipes with Paneer and Tofu. We love them so much that these two appear on our table often.Though I wanted to share some other recipe here, I am posting one of my favorite recipe today which is paneer based . This dish has been praised and savored with the same gusto every time I serve it.  

Shahi denotes something rich,creamy and fit for kings. In one word it can be summarized as 'Royal'. Paneer is Indian cottage cheese. Koftas are dumplings. So I guess you would have understood that you are about to be a part of a royal indulgence......

I came up with this recipe a few months ago when I was feeling so bored one afternoon and wanted to cook something different and exotic[That usually happens to me-Boring = go and cook something]. I had to prepare dinner earlier as we had plans to go shopping . A side dish would be the perfect thing to cook ahead and so this dish came up in my mind. It took an hour from start to finish. I had made paneer earlier that day with no idea what to make with it and used it here.

When dinner was served hubby was the first one to taste it and he was literally spell bound. I am not exaggerating here. He loved it so much. Lil angel loved the koftas and MIL made no comments about the gravy. When she came into the kitchen later that night she praised it. She said it was just like the ones served in restaurants and hubby who happened to pass that side peeped in to comment that it tasted better than the restaurant food!!

All those rich and creamy ingredients had worked their magic on the dish and I got praised for it!!!!


I used:

Homemade paneer from ¾ liter milk [ make sure that the whey is completely drained out]
Coarsely ground pistachio nuts – 2 tablespoons
Almonds -10
Khus- khus seeds / Poppy seeds -2 teaspoons
Tomato puree- 1 cup
Onion- 2, sliced
Ginger garlic paste- 1 teaspoon
Cumin seeds -1 teaspoon
Fresh Yogurt -1 cup
Whole spices – cardamom seeds from 2 pods, cloves -2 , cinnamon- a small piece.
Kasuri methi / Dried fenugreek leaves -1 tablespoon
Red chilli powder -1 ½ teaspoons
Coriander powder -1 teaspoon
Cumin powder -1/2 a teaspoon
Salt to taste
Butter -1 tablespoon
Oil to deep fry


1.    Soak khus khus / poppy seeds in the smallest jar of your blender.[It is a lot easier this way than soaking it in a cup and then transferring to the blender jar as half of them get stuck to your finger / spoon / the cup]
2.    Microwave almonds in a cup of water for 2 minutes and when cool remove the skin[and discard] and keep aside[the almonds].
3.    Heat butter in a pan and sauté onion till brown. Cool and grind to a smooth paste.
4.    Grind the almonds along with the soaked khus khus to a fine paste and keep aside.
5.    In a bowl take crumbled paneer and coarsely powdered pistachio and mix well. Make small balls and deep fry in oil till golden brown and keep aside.
6.    Heat a little oil in another pan and add cumin seeds and whole spices.
7.    When the cumin crackles, put in the ginger garlic paste and onion paste. Cook for a minute.
8.    Add the tomato puree, coriander powder, chilli powder, cumin powder, salt and mix well.
9.    Add around ½ a cup of water and bring to boil.
10.  Now put in the ground almond-khus-khus[poppy seed] paste and mix well.
11.  Simmer for 5 minutes and add the yogurt.
12.  Adjust consistency by adding water/ milk.Simmer for 10 minutes.
13.  Add the kasuri methi and remove from heat.
14. When you are ready to serve, heat the gravy once again and bring to boil and add the fried koftas.Simmer for a couple of seconds .

Serve with Roti / Chapathi [Griddle cooked Indian flatbreads]


Though the ingredient list and the steps are lengthy, this is a true treat. Served with Chapathi / Roti, every bite is pure bliss.


Bon Appetit...


Catch me cooking @ Seduce Your Tastebuds

Monday, December 6, 2010

Shondesh | Sandesh - A creamy Delicacy From West Bengal

Bengal is known for its delectable sweets. Sweets find an important place in the Bengali Thali. The Bengali desserts make use of sweetened cottage cheese / Paneer / chhana.

This one is the basic Shondesh recipe.There are numerous and innovative Sondesh varieties that can be developed from this one.

Shondesh makes use of Paneer [like most of the Bengali desserts] and is sweetened with sugar and a garnish is added. Such a simple recipe for a finger-licking yummy sweet. I am sure you just can't stop eating it.


I used:

Homemade paneer from 1 Liter milk .Make sure that the whey has been completely drained out.
Castor Sugar - 1/4 cup [ add more if you like it sweeter
Saffron- a few strands soaked in a tablespoon of warm milk
Raisins to garnish

  1. Take the paneer in a pan and add sugar.Heat the pan on low flame and cook the paneer for 5 minutes.The color of the paneer should not change.If you over cook the mixture, it will become crumbly.
  2. Transfer the paneer onto a flat surface and add the saffron and the milk used to soak it.
  3. Knead well for some time.You will know that you have kneaded enough when a ball rolled out from the dough does not crack on the edges.If you want to get it done fast, put the paneer mixture in a mixie jar and blend for a couple of minutes till it is creamy.Do not add water / milk to blend.Its very easy and quick.
  4. Use moulds to shape the shondesh or just roll them into balls and slighly flatten them.
  5. Garnish with raisins / chopped nuts


Now that we know the basic Shondesh recipe,lets add a crunchy touch to it- Pista Shondesh....


I used :

Homemade paneer from 1 Liter milk .Make sure that the whey has been completely drained out.
Powdered sugar / castor sugar - ¼ cup [Increase if you have a sweet tooth]
Coarsely powdered pista nuts – less than ¼ cup
Chopped pista nuts to garnish

  1. In a pan put in paneer and sugar.Mix well.Heat the pan on low flame and gently cook the paneer mixture for a couple of minutes. The paneer should not change its color. Take care not to overcook it else the color will change and become crumbly.
  2. Remove from heat and transfer to a flat surface.
  3. Knead well for sometime while its still warm. You know that you have kneaded enough when the dough doesn’t split on the edges when rolled into balls.If you want to get it done fast, put the paneer mixture in a mixie jar and blend for a couple of minutes till it is creamy.Do not add water / milk to blend.Its very easy and quick.
  4. Shape the dough - you can use a mould or just shape into balls.
  5. Gently roll the shondesh over the coarsely powdered pista nuts.
  6. Serve garnished with chopped pista nuts.

There is another way that you can make this. Mix in the powdered nuts after removing the paneer from heat. In this case you just have to shape it and serve garnished with pista nuts.

Either way you prepare it, there is not much difference in the taste. Store in the refrigerator. But I don’t think you will have leftovers. It going to disappear the same day you make it!


Note :

Use fresh homemade paneer for a good texture and delicious taste. The Shondesh prepared from the store brought paneer will not taste as good as the ones prepared with fresh paneer.


Bon Appetit...

Tuesday, September 14, 2010

Tangy Raw Mango Chutney / Maangai Thuvaiyal / Mavinkai Chutney

A couple of months ago when I was still in my hometown,it was raining mangoes.I prefer raw mangoes to the ripe one.I love to smear a little chilli powder and salt on the raw mango and take a bite- I'm in heaven!!When I visited one of my friends house during the mango season,I came home with a bag of my favorite raw mangoes.So some of it went into this chutney.

Mom had once written down this recipe[in her memory] and passed it on to me.A very tasty and tangy chutney that can go with Indian breakfast dishes,served as a dip, or with piping hot steamed rice and a dollop of homemade ghee..Yummm.....


I used:

Grated raw mango - 1 cup
Grated coconut-1/2 cup
Cumin powder-1/2 teaspoon
Chilli powder-1/2 teaspoon
Roasted urad dhal -1 teaspoon[optional]
Tomato-1 small,chopped
Ginger-a small piece
Oil-1 teaspoon
salt to taste

Seasoning:

Oil- 1 teaspoon
Mustard-1 teaspoon
Cumin seeds-1/2 a teaspoon
Curry leaves-a few
Red chilli-1 ,broken into bits

  1. Heat a pan with oil and saute tomato,mango,ginger and coconut on medium flame.
  2. When the tomato gets mushy add the cumin and chilli powder
  3. Mix well and switch off the flame.
  4. Cool and grind with salt, roasted urad dhal to a paste adding a little water.
  5. Remove the chutney into a serving bowl.
  6. Heat a small pan and put in the items under seasoning.When it splutters,pour over chutney.
  7. Mix well and serve.


Raw Mango Chutney


Bon Appetit...


Catch me cooking @ Seduce Your Tastebuds

Thursday, August 12, 2010

Indian Tomato Soup[Microwave version] |Tamatar Ka Shorba

A couple of weeks ago,tomatoes were being sold at astronomical prices.The vegetable that has become indispensable in our cuisine had become unaffordable to many.We were using very less tomatoes at home and the dishes seemed to have lost their taste.

Then suddenly, last week, they became so inexpensive that the vendors at the farmers market had a lot of surplus.The price reduced further and everyone around here are buying them in bulk!

When I visited the farmers market this week,I picked up my share,in fact,more that I could handle and am using them to make preserves and soups.

Here is an Indianized version of the tomato -Tamatar Ka Shorba.After going through many variations and varieties,I put in what I had and made this in less than 10 minutes in the microwave.This is yet another simple soup recipe that can be put together in a jiffy.


I used:

Ripe tomatoes-4
Bay leaf-1
Ginger- garlic paste-1 teaspoon
Roasted cumin powder-1 teaspoon.
Red chilli powder-1/4 teaspoon
Salt and pepper to taste
Coriander leaves to garnish

  1. Blanch tomatoes.
  2. Peel and puree after it cools .
  3. In a deep microwave proof dish,put in  pureed tomato,all the ingredients [except pepper powder and coriander leaves], enough water [to get the consistency of your choice] and microwave on high for 5 minutes or till it starts bubbling.
  4. Remove the bay leaf and serve hot garnished with pepper powder and coriander leaves.

Quick and yum Tamatar Ka Shorba

Note:

There are many variations like adding lemon juice or a paste of chickpea flour etc.This is my version which I found to be quick and tasty.

Bon Appetit...


Catch me cooking @ Seduce your tastebuds

Tuesday, July 20, 2010

Amrakhand / Mango Shrikhand - A Tempting dessert from Gujarat

A few weeks ago while watching Travel and Living channel,Madhur Jaffrey made this delightful dessert and I was hooked on to it.Lil Angel who was watching this show was equally tempted.We [Lil angel and me] are huge fans of the cooking series in Travel and Living.We love to watch Kylie Kwang,Nigella Lawson ,Madhur Jaffrey and all those delightful chefs turn their kitchen into heaven!!!.So, Madhur Jaffrey was on TV and we both were literally drooling as she prepared a Gujarati meal-Amrakhand, Dokla, Kandhvi.Each dish surpassed the other in simplicity and visual appeal.

Now to the recipe-Amrakhand is a fruity version of the creamy Shrikhand.Shrikhand ,as you are aware,is the sweetened creamy hung yogurt flavored with cardamom and saffron.A sweet dessert from Gujarat,it can be savored as such or as a side dish to Roti / Poori.

This is one of those 'make-ahead' desserts when you have a large crowd and want to have an impressing spread of dishes.Or,you can enjoy it all by yourself on hot summer days when you crave for something cool and delicious.


I used:

Thick curd / Yogurt - 3 cups [Please see note at the bottom of the post]
Sugar- less than 1/4 cup ,depending on the sweetness of the mangoes
Mango pulp-1 1/2 cups
Nuts and mango pulp to garnish

  1. In a bowl whisk yogurt and sugar.It will become pasty.
  2. Add the mango pulp and whisk to mix.
  3. Chill till serving time.
  4. Serve garnished with mango pulp and some nuts.


Note:
  •  The yogurt has to be very thick.Else tie it up in a cheese cloth and hang it till the water drains completely.Watery yogurt spoils the dish totally.
  • You can also use canned mango pulp.
Catch me cooking @ Seduce Your Tastebuds

Wednesday, July 14, 2010

Cooking With Banana Blossoms

Its been a long time since I posted anything here.Mostly I have been cooking the usual stuffs and still enjoying my vacation.Lil angel is having a fun time with her grandparents and I am enjoying the all of the local food in my hometown :)

The other day when Lil angel and me were playing in the backyard,she told me that 'there is a flower in the banana'.I didn't understand what she meant until she pointed out .The banana tree in my neighbor's backyard had a lovely blossom and little green bananas on the stalk.They looked very cute and this was the first time lil Angel caught a glimpse of the blossom on the tree.

We all eat bananas but how many of us have ever tasted the banana blossom?It is so full of goodness yet due to some reason or the other we neglect to add it to our meal.


Banana blossom is something that is ignored these days.I have heard mom and grandma discussing that there were times when they used to make it a habit of preparing a dish with banana blossom on a weekly basis and nowadays neither is it freely available nor do people have the time to 'prepare' it.'Prepare' it does not mean the actual cooking process but to prepare the blossom prior to cooking.It is a tedious process but the benefits of the blossom are profound.It is said that the blossom has many curative properties.

  • The blossoms when cooked and taken with curd is said to be an effective remedy against menstrual pains and excessive bleeding.This does not mean we take it only on those particular days but it has to be included many times in our diet.
  • It is used in the treatment of constipation and ulcer.
  • It is said to increase the milk secretion in lactating mothers.
  • It is a good source of Vitamins and minerals
See,with all this health benefits,I think the next time you spot these blossoms you will be sure to pick one.This what you have to do as soon as you buy the blossom.Separate the dark colored petals and remove the white-yellow  flowers.


    This photograph below shows the non-edible portion to be removed before cooking[This click is specially for those who are going to try this for the first time].


    The stamen is non-edible and has to be removed from each flower. This definitely takes time.

    After removing the non-edible portion from the blossom,chop it finely and keep it stored in a vessel with weak/diluted buttermilk.This will prevent them turning black and bitter.


    These blossoms are available in the farmers market[in India] and in the Asian stores[abroad].Here is a small tip.As soon as you buy the blossom,tie the petals with a piece of string so that they are compact and do not open.Store it in the fridge.[Do not let it sit in the fridge for more than a day.]When the petals are compact,they remain fresh and taste better instead of just storing them in the fridge as such.

    It is best if the blossoms are prepared when they are fresh.Else chop them and store them in a vessel containing buttermilk.It should not be stored for more than 5 hours,else the taste may change.Keep it in the fridge till u are ready to use.Squeeze out the buttermilk and use it in one of these recipes.

    Here are some South Indian recipes[from Tamil Nadu] in which these prepared blossoms can be used..

    Banana blossom-Lentil fritters - [Vaazapoo Vadai] - A crispy snack that masks the blossoms and it is an easy way to make the kids[and the adults] eat the goodness.


    Banana blossom stir-fry -[Vaazhapoo porriyal] A simple stir-fry to go with steamed rice.


    Banana blossom lentil stir-fry [Vaazhapoo paruppu Usili]-Pep up the regular banana blossom stir fry by adding some lentils.This combo is very healthy and definitely tasty....


    Catch me cooking @ Seduce Your Tastebuds

    Saturday, May 29, 2010

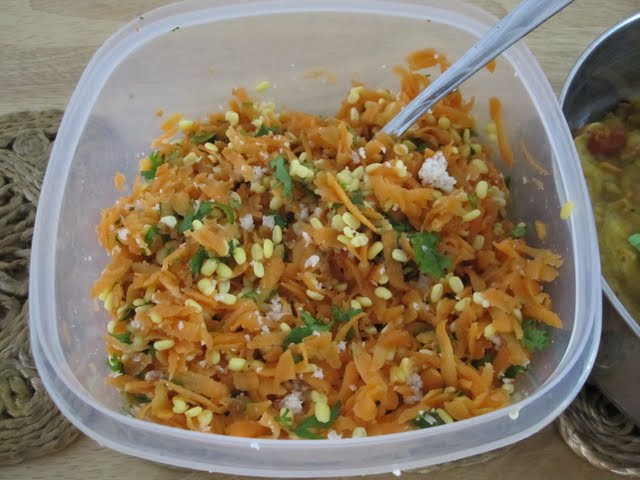
    Carrot, Moong Dal, and Coconut Salad


    I'm always trying to get more vegetables into every meal. And I also try to sneak in more salads on to our dinner table. And I'm a big sucker for colourful food. This is an easy salad that adds plenty of colour to my plate. It is full of flavour and depending on your hunger, can also serve as a meal by itself. The only time consuming aspect of this salad is grating the carrots. If you have a food processor, then this salad will come together in minutes and will be ready to eat in about 30 minutes.


    Ingredients:


    2 large Carrots, grated
    1/4 cup Moong Dal, washed
    2 tbsp scraped Coconut
    1 tsp Ginger paste
    1 Green Chilli, chopped finely
    Salt to Taste
    Coriander leaves for garnish


    For the tempering:

    1 tsp Oil
    1/4 tsp Mustard Seeds
    1/4 tsp Asafoetida
    7-8 Curry Leaves


    Place the washed moong dal in a large bowl. Add the chilli, ginger paste, carrots, salt, and coconut and mix well.

    In a small pan, heat the oil, add the mustard seeds and asafoetida, and when the mustard splutters, add the curry leaves. Add this to the carrot-moong dal mixture.

    Garnish with coriander leaves and leave aside for 25-30 minutes. The moong dal will soak up the juice from the carrots and become soft in the meanwhile. Enjoy your traditional South Indian salad.

    Saturday, May 15, 2010

    Ras Malai

    I though I will share this extremely delicious and easy to prepare Rasmalai here.We made this for this months edition of Indian Cooking Challenge.Rasmalai is a traditional sweet from West Bengal,India and also a favorite in Bangladesh.

    Rasmalai is made using paneer /Ricotta cheese and this paneer can be homemade or you can buy these from the store.The paneer is cooked in sugar syrup and then simmered in milk flavored with cardamom,saffron and an array of nuts.So you bet it will be delicious.

    It is usually served garnished with nuts like slivered almonds and pistachio but I served it with grated chocolate.

    Take a look at the yummy dessert before I proceed to the method...


    Now for the step by step guide to make this delicious dessert at home.

    I used:

    Milk-1 liter + 3/4 liter
    Lemon juice from half a lemon
    Sugar -a little less than half a kilo
    Maida /All purpose flour[APF]- 1 teaspoon
    Cardamom-2 pods,crushed
    Saffron-a few strands,soaked in a tablespoon of warm milk
    Powdered nuts-2 tablespoons

    1.Heat 1 liter milk in a vessel and bring it to boil.

    2.Switch off the flame and squeeze out the juice from the lemon.

    3.It will curdle immediately,else add more lemon juice.Let it stand for 10 minutes.


    4.Strain.


    5.Put the paneer into a vessel and wash a couple of times with water.

    6.Transfer the paneer onto a cheese cloth and squeeze out excess water.

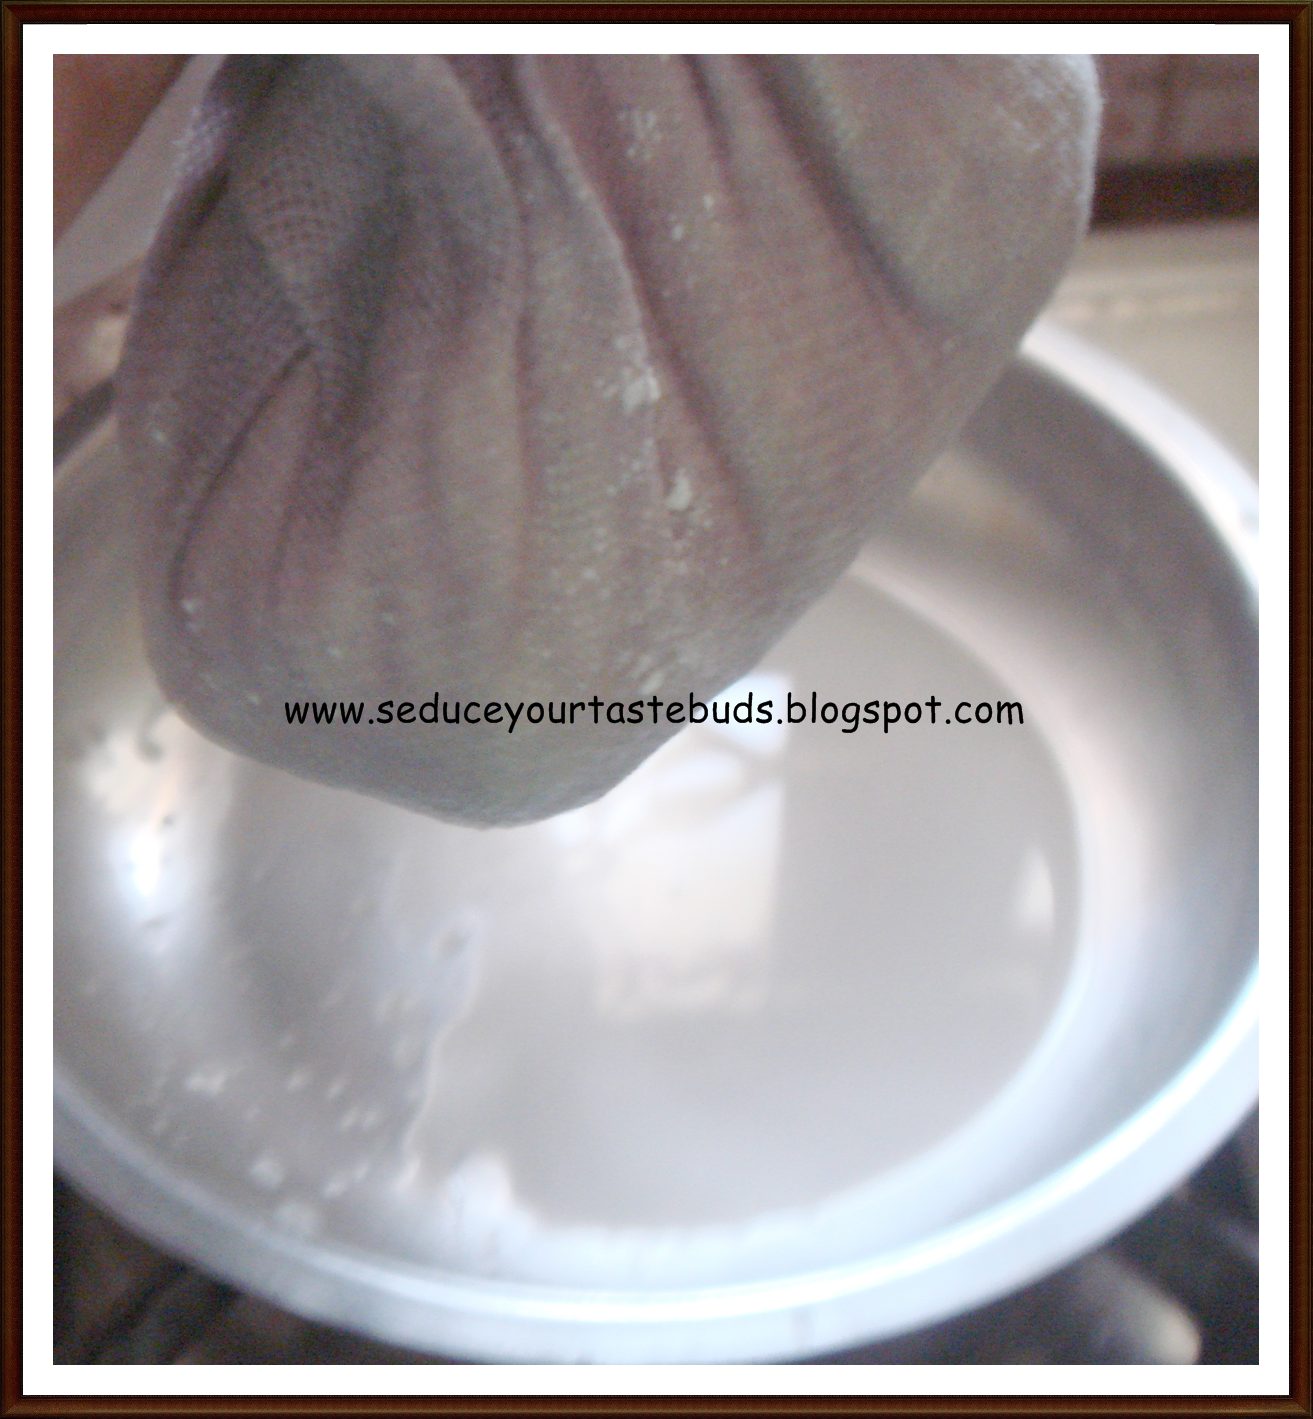
    7.Tie the cloth and hang it so that the whey drains out completely.It took almost an hour.

    8.The whey water is very nutritious .So do not discard it.Store it in the fridge for later use.[See note at the end of the post]

    9.After the whey has drained completely, here is the paneer ready to be used.

    10.Add the maida[APF] to the paneer and knead for 15 minutes.Knead well else it may break when dropped into the sugar syrup.

    11.Make small balls.


    I got 15...

    12.In a pressure cooker,take 2 cups of water[approx-400ml] and add half the sugar.

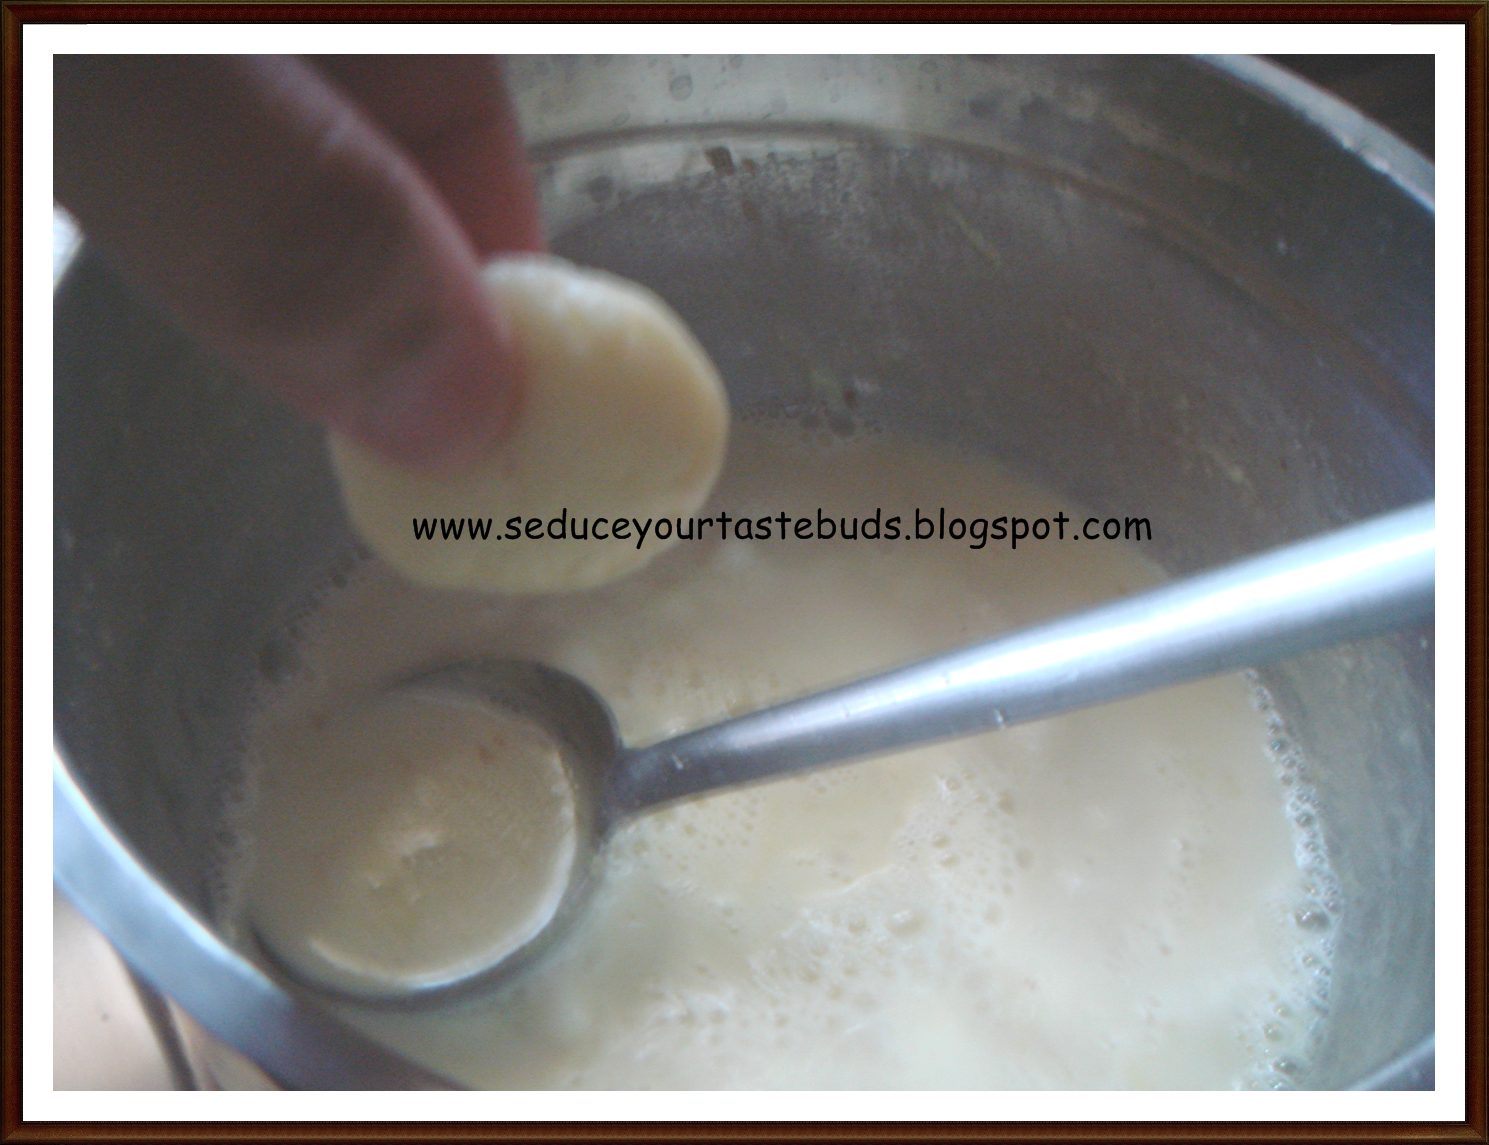
    13.Once the sugar dissolves,put in the paneer balls and pressure cook for 2 whistles / 10 minutes.


    14.The paneer will be double the original size now.

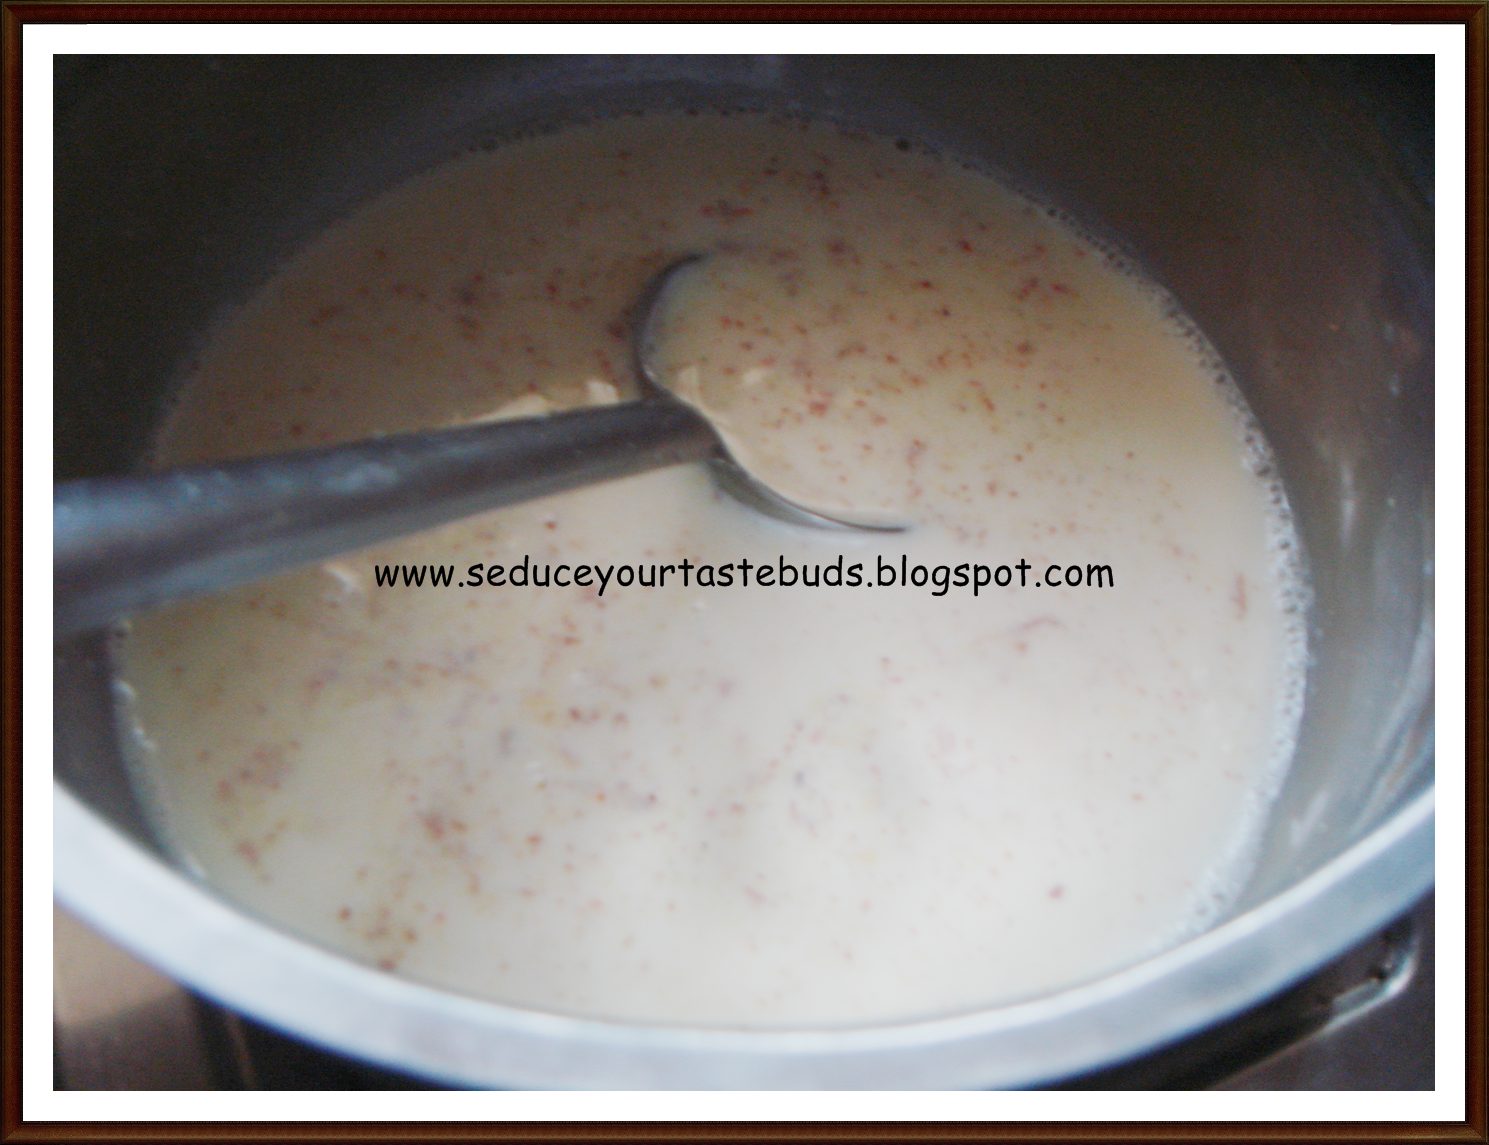
    15.Heat the 3/4 liter milk in a heavy bottomed vessel and add the remaining sugar, nuts, saffron, cardamom and simmer till it reduces to 3/4th of the original quantity.


    16.Remove the paneer from the syrup and squeeze them gently to remove excess syrup.Flatten them lightly.


    17.Drop them gently into the reduced milk mixture.


    18.Simmer for 10 minutes.Remove from heat.Let it cool,refrigerate and serve!!!


    Isn't it pretty easy.I finished the actual procedure in an hour.The waiting time was 1 hour for the whey to drain.My nephews who love this dessert[as much as I do!] were eager to taste it and they were totally taken in by the taste!!!They want me to prepare this again!!!I am so glad it turned out perfect in spite of the fact that this is my first try...

    The chilled Rasmalai was way better than the ones I used to have outside.It does make sense,after all, its home made!!!

    Note:

    The whey that we get when milk coagulates is rich in nutrients.It can be used in a plenty of ways.All you need to do is store it in the refrigerator and

    • Use it to prepare chapathi/Roti use this water to make the dough.
    • It can also be used instead of lemon juice[as a starter] the next time you make paneer.
    • Use it as a soup base
    • Add a pinch of salt and drink it up.
    • Use it while preparing baked goodies.
    • Use it in milkshakes instead/with milk.

      © by Ourblogtemplates.com 2008 Modified by Cynthia Nelson

    Back to TOP